Scanner Set-Up on Printer and System
Set up on Printer:
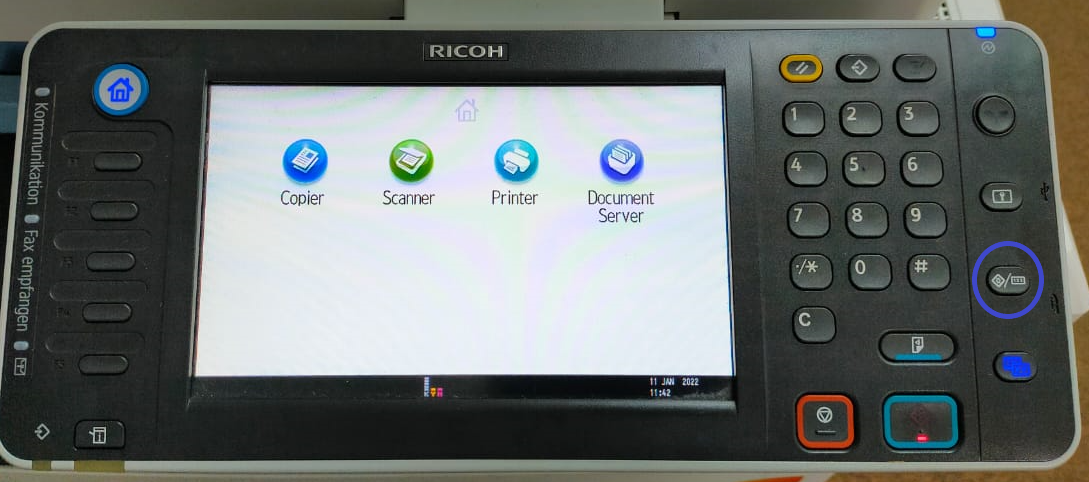
Step 1: Click the button with diamond and 123. Follow the highlighted button on the image.
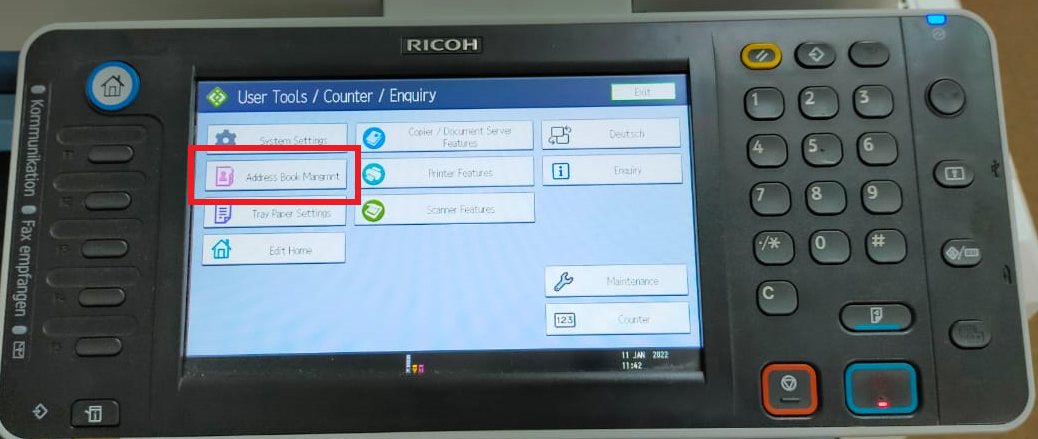
Step 2: Click the Address Book Management on screen.
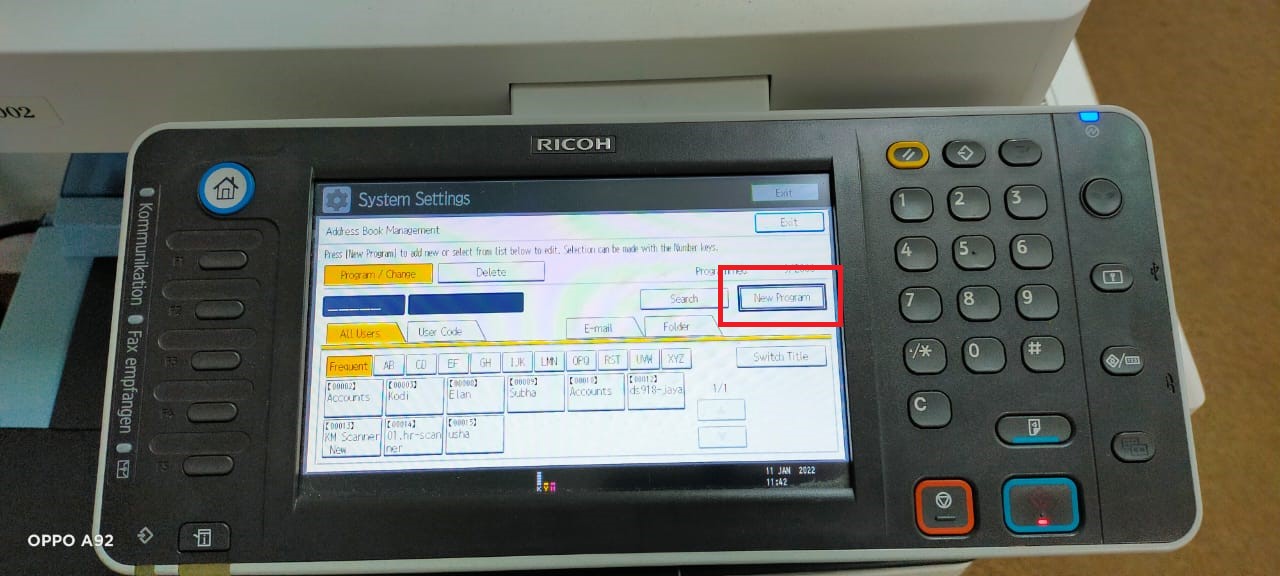
Step 3: Click the New Program on the screen.
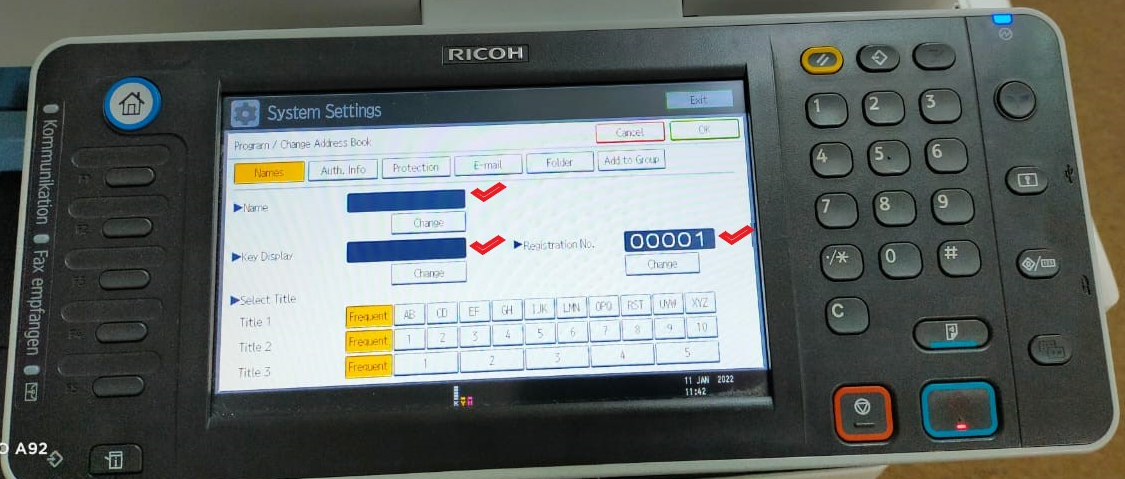
Step 4: Put Name and Key Display and you can change the registration number.
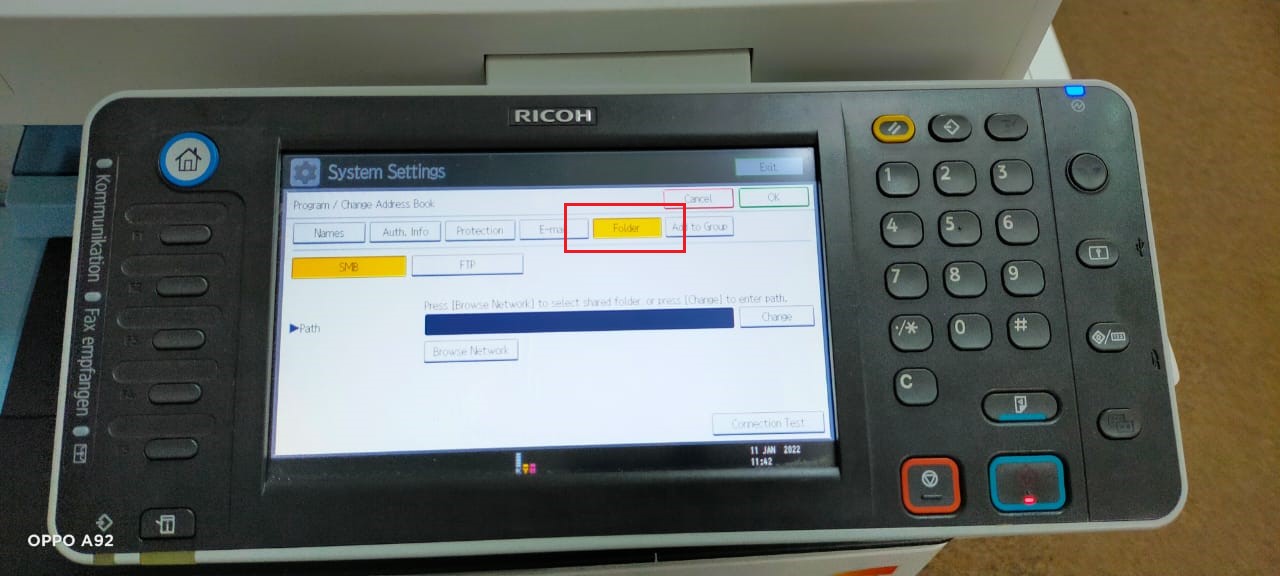
Step 5: Click the folder button.
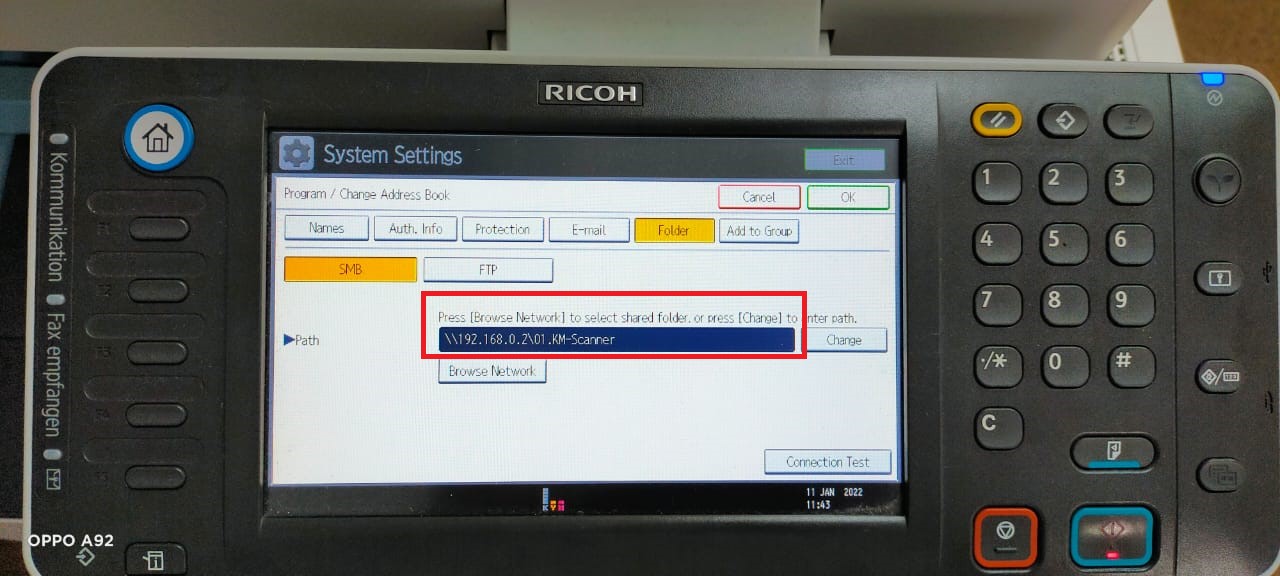
Step 6: Put the folder path.
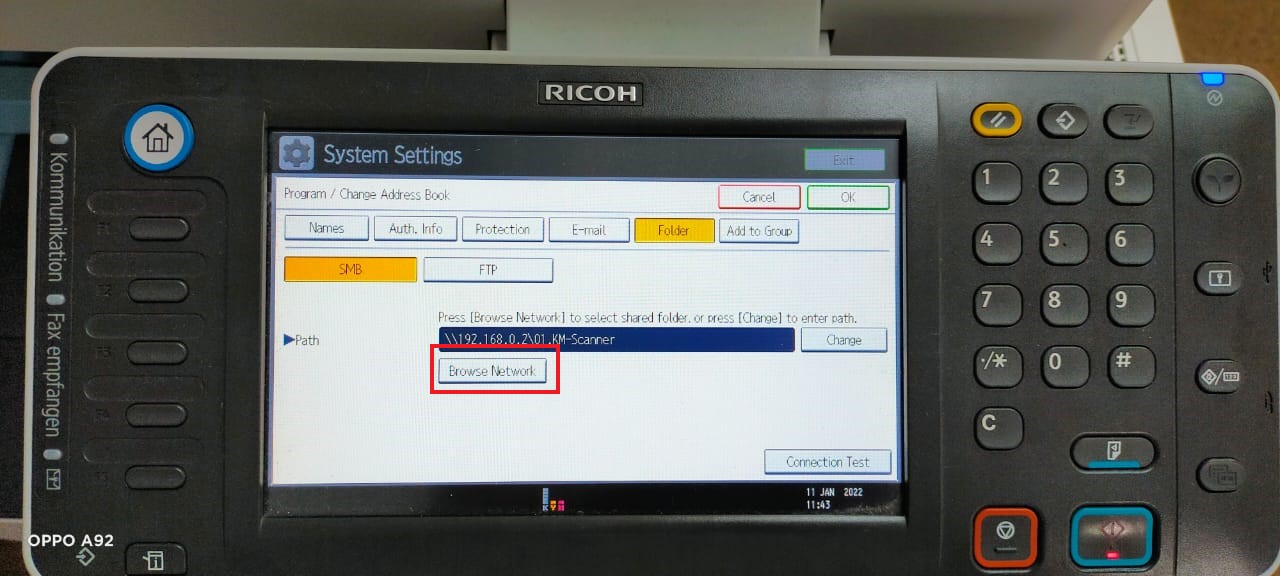
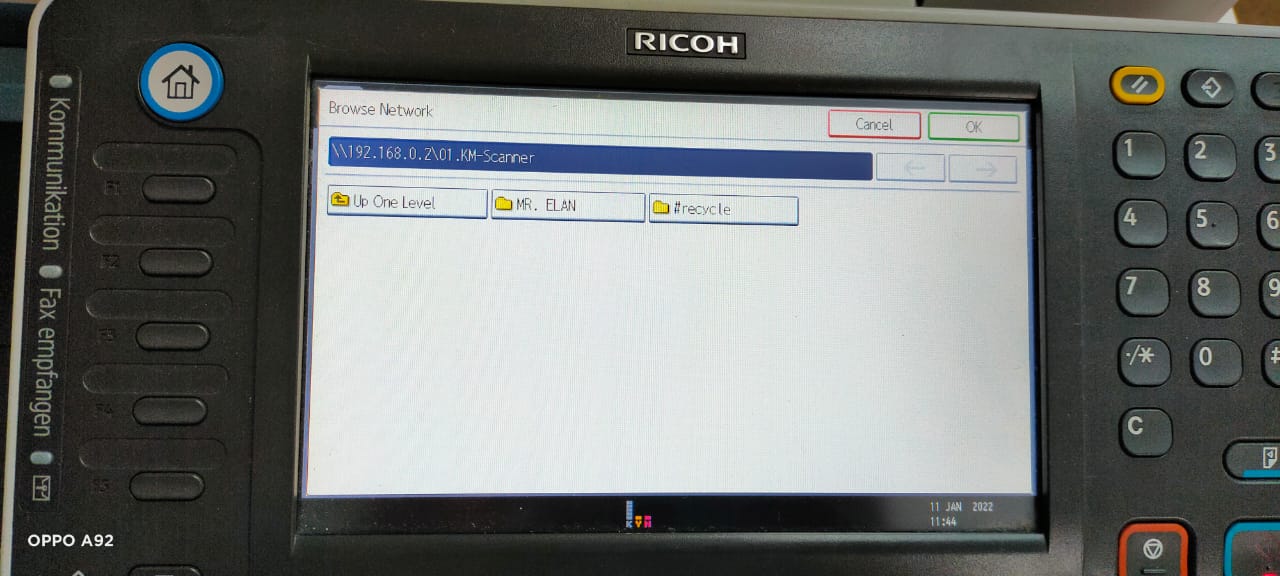
Step 7: Click the Browse Network button.
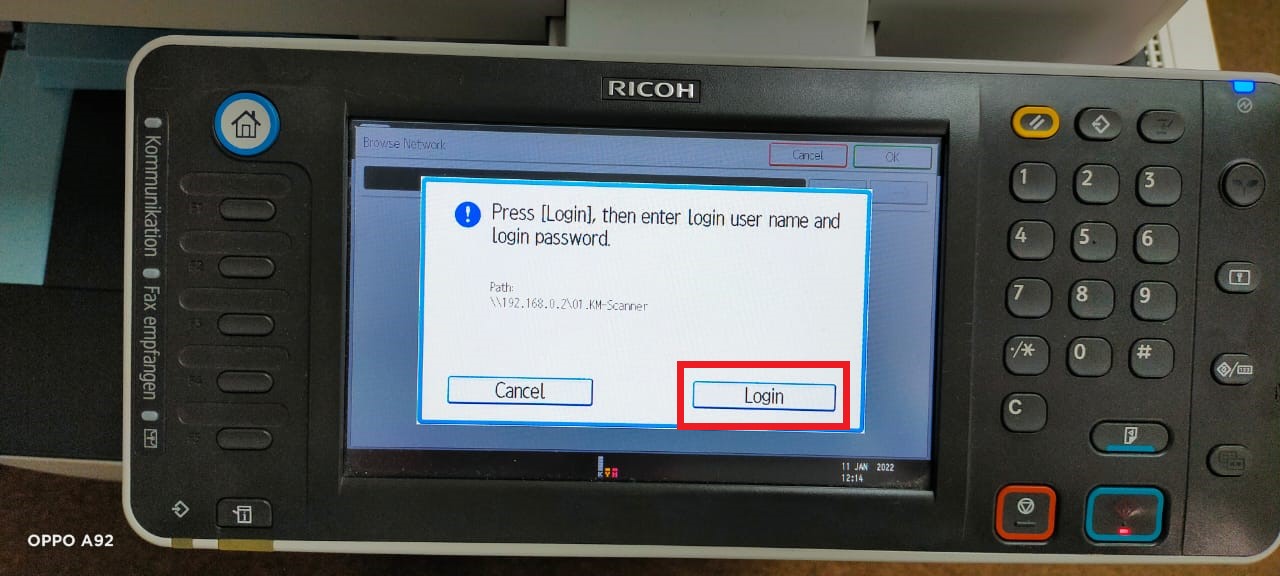
Step 8: Log in as Admin account.
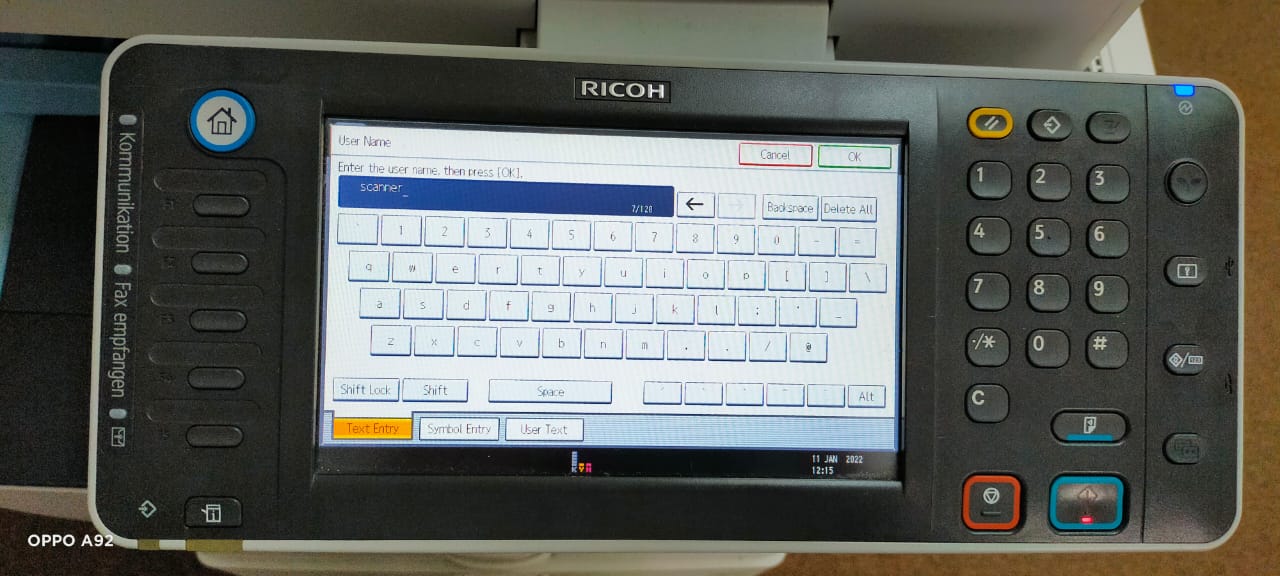
Step 9: Put the user name and click ok button.
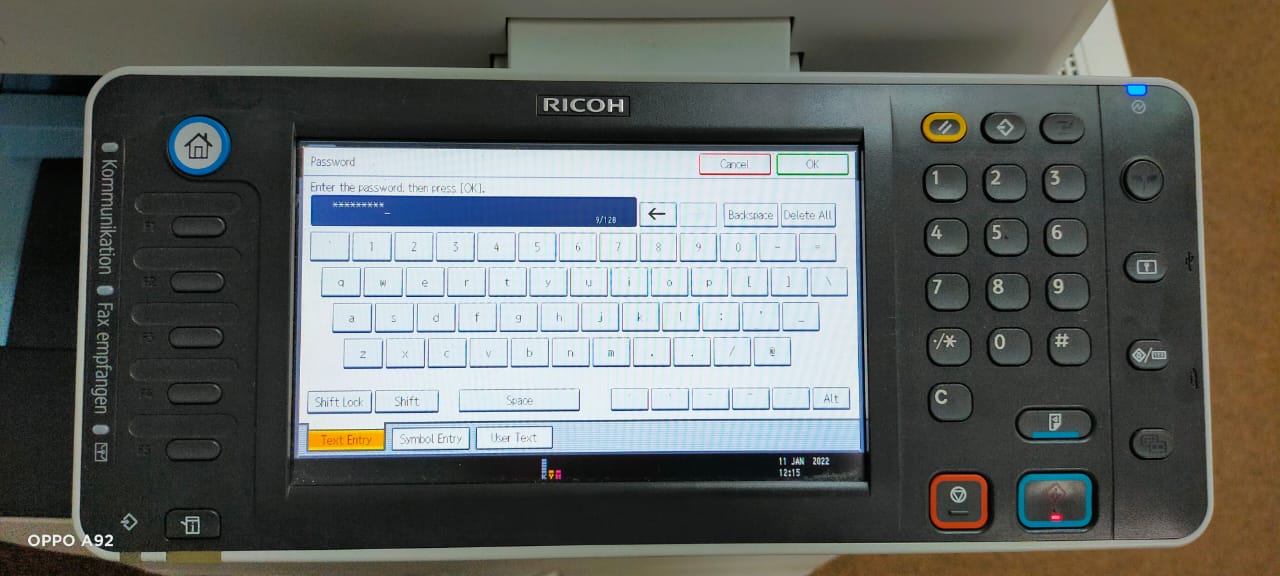
Step 10: Put the Password and click ok button.
Step 11: If successfully log-in you can access the folder.
Set up on the System:
Step 1: Launch File Explorer.
Step 2: Go to THIS PC [windows 10] / Computer [Windows 7]
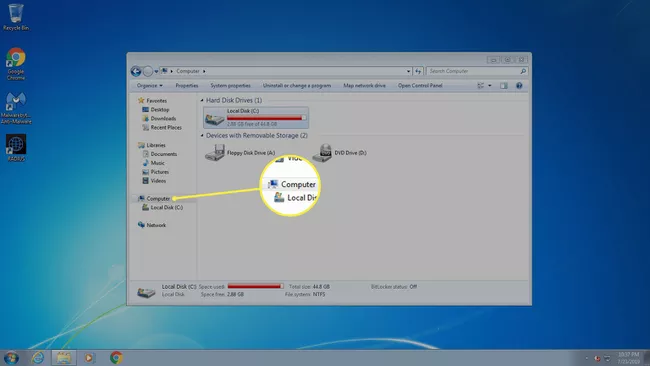
Image sample for Windows 7
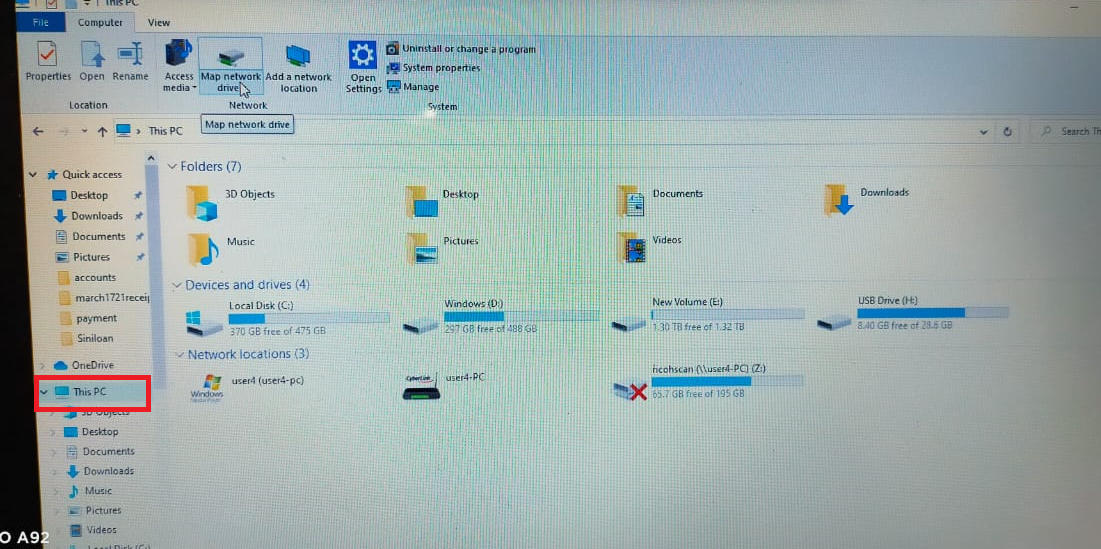
Image sample for Windows 10
Step 3: Click the Map Network Drive.
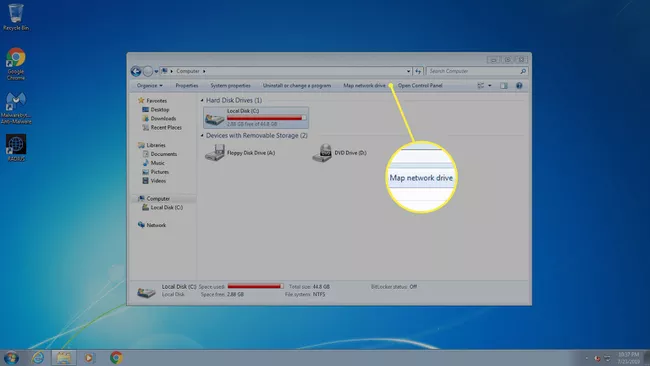
Image sample for Windows 7
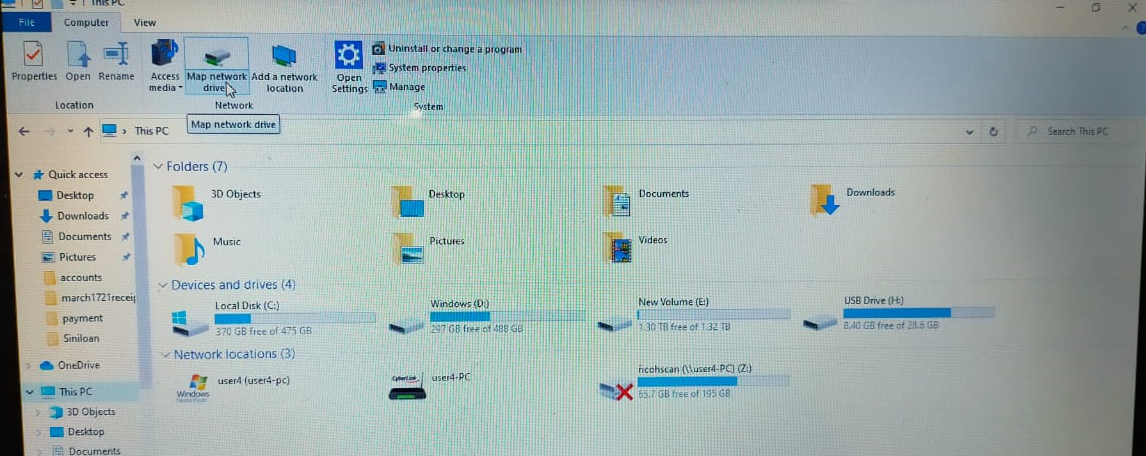
Image sample for Windows 10
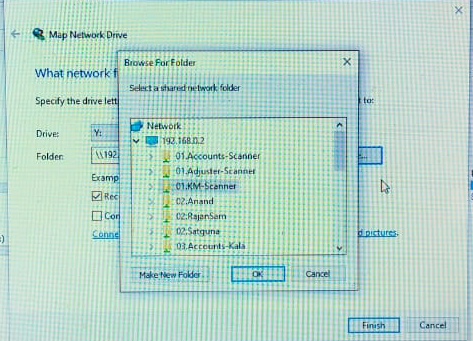
Step 4: Select the drive letter for the network drive you would like to map, enter the UNC path in the Folder text field, then click browse.
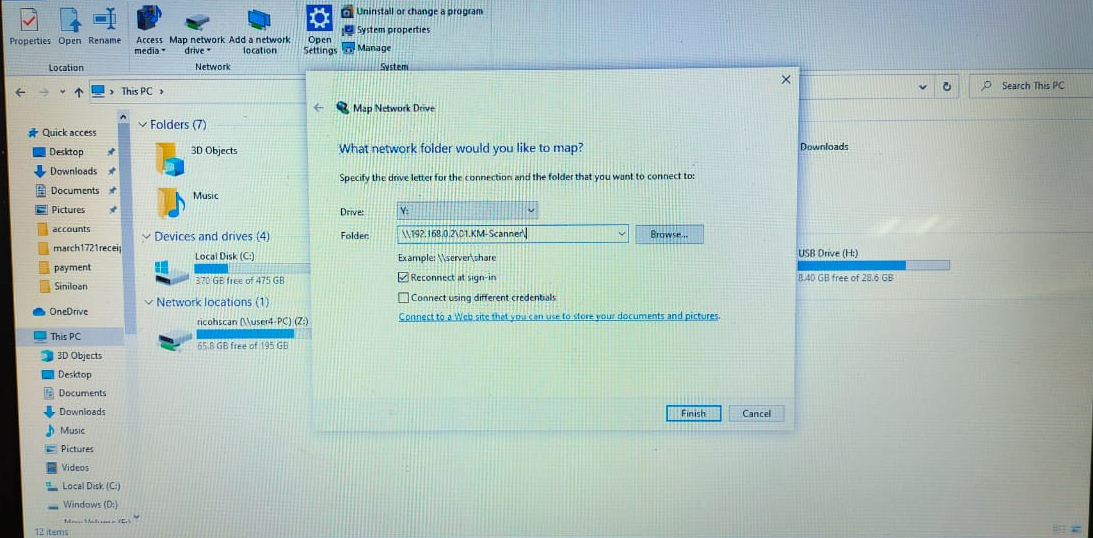
Image sample for Windows 10
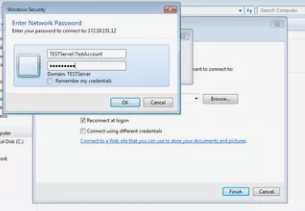
Step 5: If you are prompted for credentials, enter the credentials for an account that has the required permissions to access the file or folder.
Step 6: Select the file and click ok.
Step 7: Click finish button.
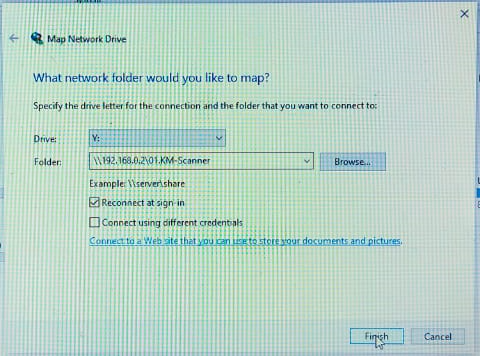
Step 8: If successfully set up you can access the folder.

No Comments