ADD A NETWORK, WIRELESS OR BLUETOOTH PRINTER
Step 1: Click on the Start button or Windows logo from the bottom left-hand corner of your computer screen.
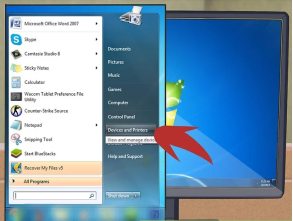
Step 2: Select "Devices and Printers" by clicking on it.
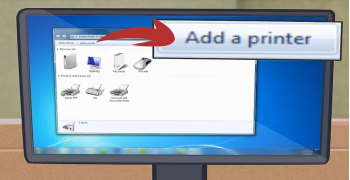
Step 3: Select "Add a Printer" by clicking on it to bring up the Add Printer wizard.
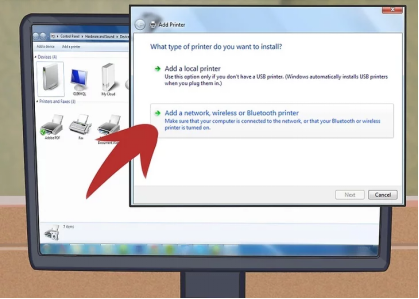
Step 4: Click on "Add a network, wireless or Bluetooth printer."
Step 5: Click on the name of the printer you want to set up from the list of available printers that appear.
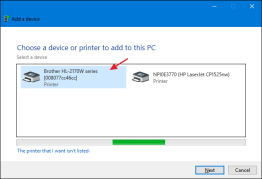
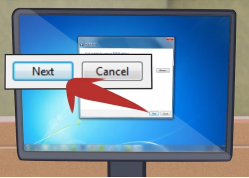
Step 6: Click on the "Next" button.
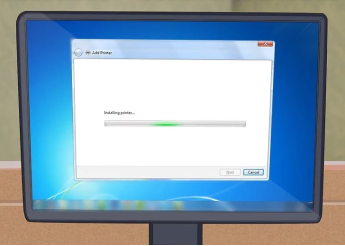
Step 7: Click on "Install driver" if you are prompted to install the printer driver.
Note: You may be prompted to type in the administrator password if you are connected to a network.
Step 8: Click on the "Finish" button to finish installing the printer and close the Add Printer wizard.

Add a Printer Using IP Address, If Printer name not in the list.
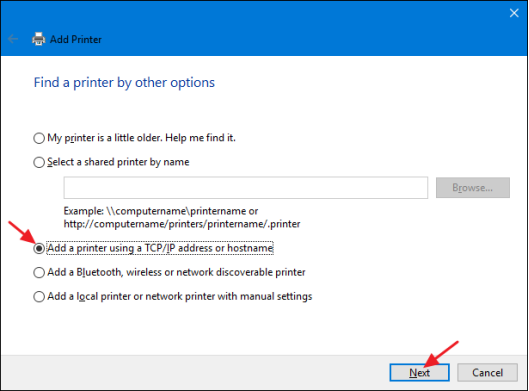
Step 1: Click the printer that I want isn’t listed.

Step 2: Click Add a printer using TCP/IP address or hostname and click next button.
Step 3: Type the IP address for the printer into the “Hostname or IP address” box. Make sure the “Query the printer and automatically select the driver to use” check box is selected and then click “Next.”

Step 4: Type a new name for printer if the default name doesn’t suit you and then click “Next.”

Step 5: Choose whether to set the new printer as the default, print a test page if you want to make sure everything’s working, and then click “Finish” when you’re done.
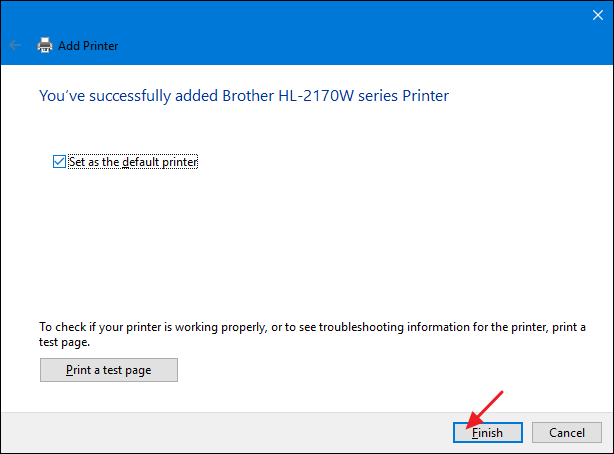
Note: Do print test to try if printer is properly set-up.
No Comments