Claims Finalization & Submission
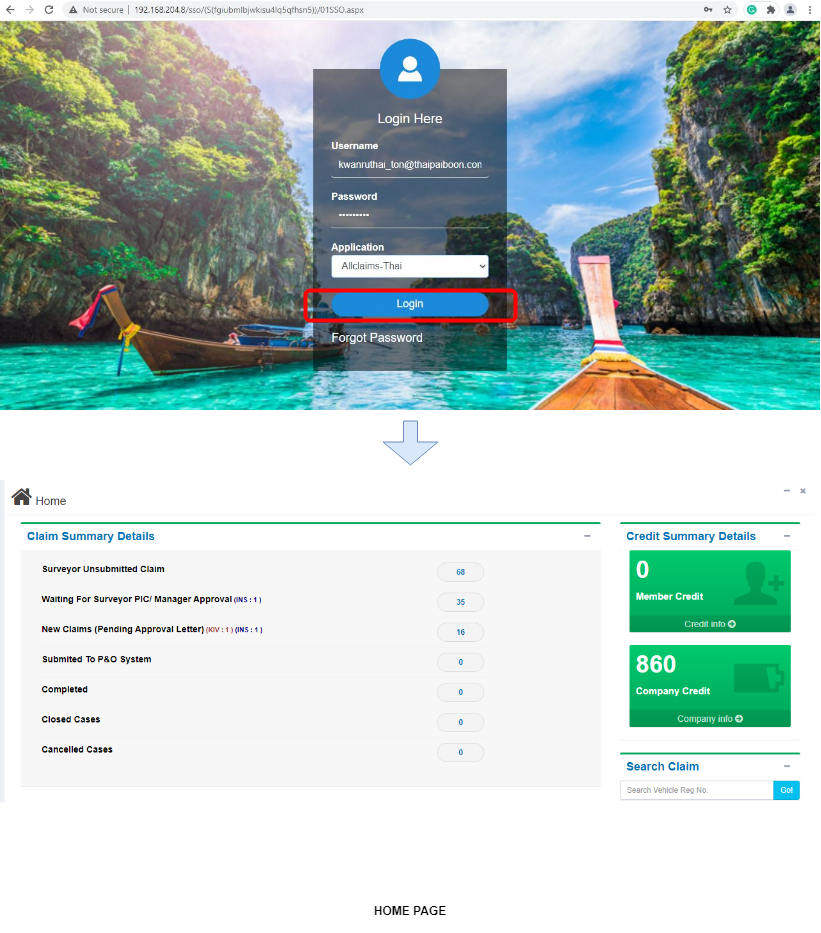
LOG-IN ON ALLCLAIMS-THAI WEB PORTAL:
Step 1: Open any available browser and type this url: "https://thai.snkmdr.com/singlesignon/(S(q2pqimrk1a5t0ygqhneff3ri))/01SSO.aspx"

Step 2: Type your username and password and select application "Allclaims-Thai".

Step 3: Click Log-In Button.
HOW TO FINALIZE AND SUBMIT THE NEW CLAIMS:
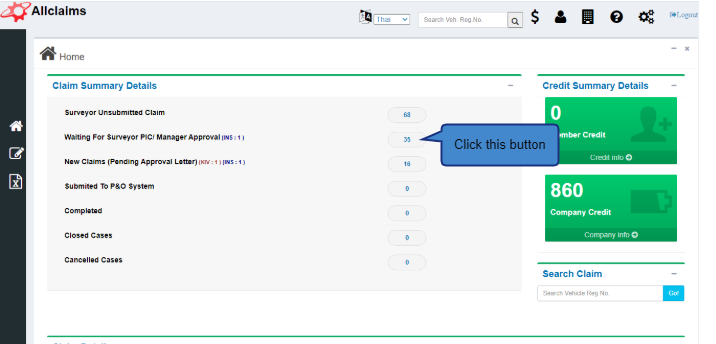
Step 1: On Home Page, Click the total number of Waiting For Surveyor PIC/Manager Approval to view all the unsubmitted claims.
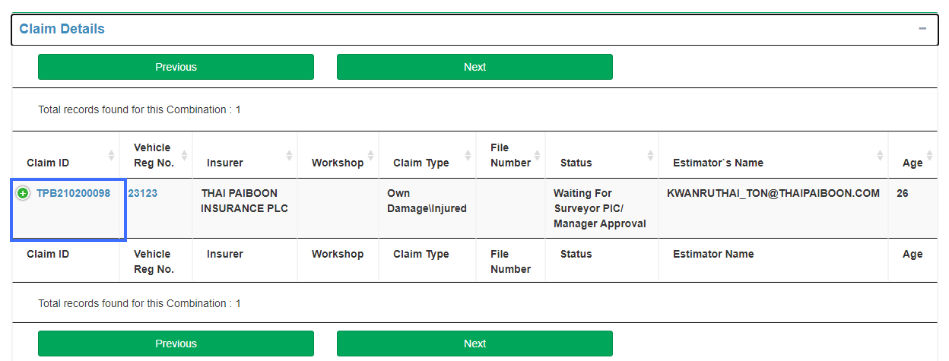
Step 2: Below on home page it will show all the unsubmitted claims. Then select the Claim ID that you need to submit.
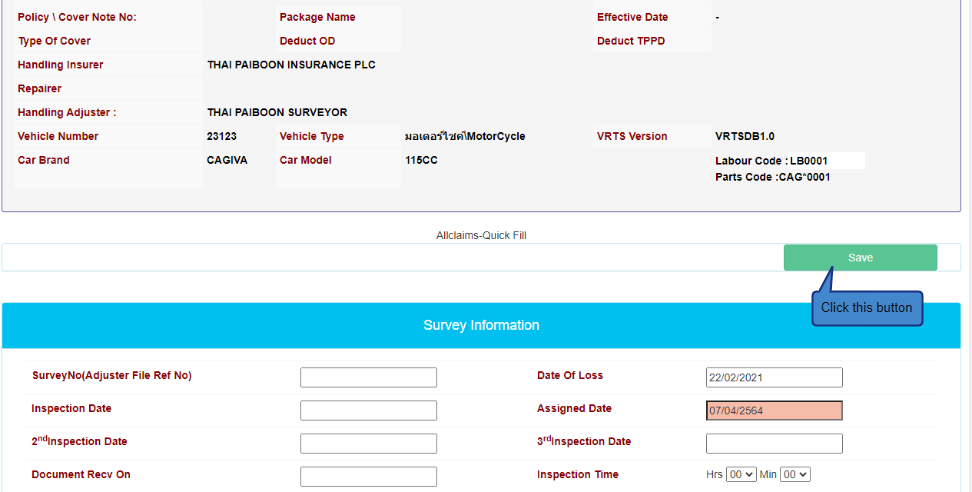
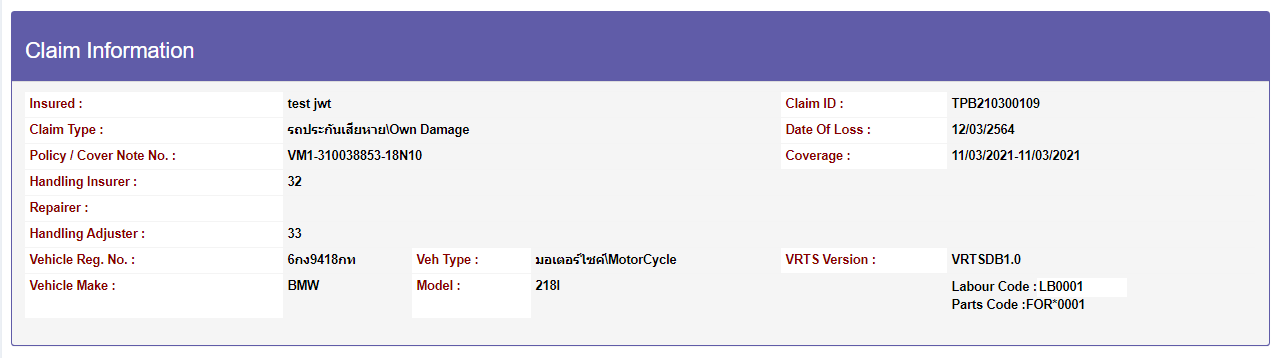
Step 3: On this page you can edit the claim. Check the details on the form and update some details that need to change or need to fill up.
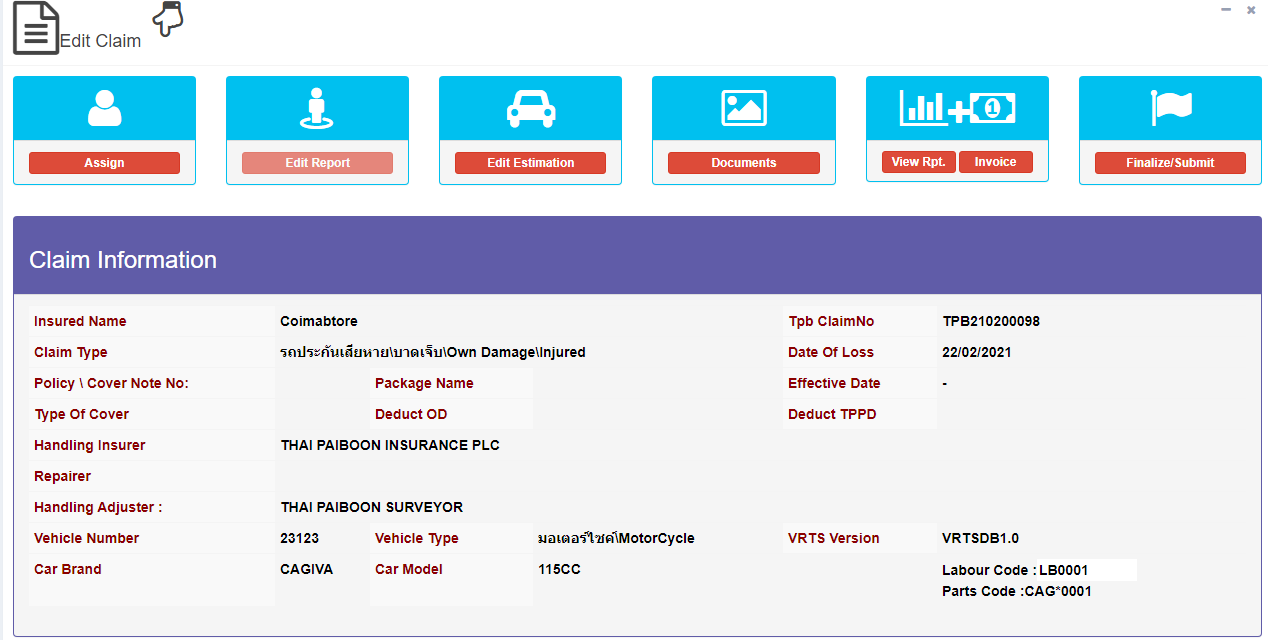
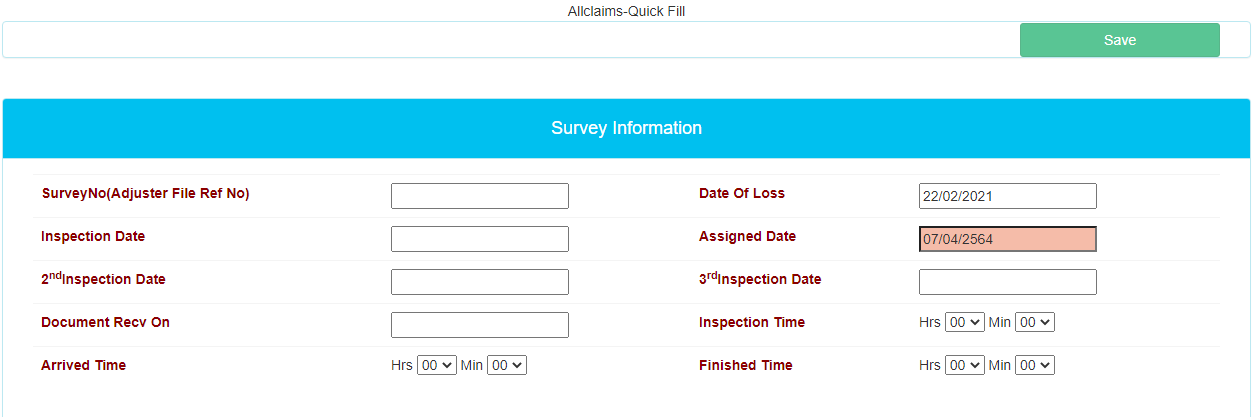
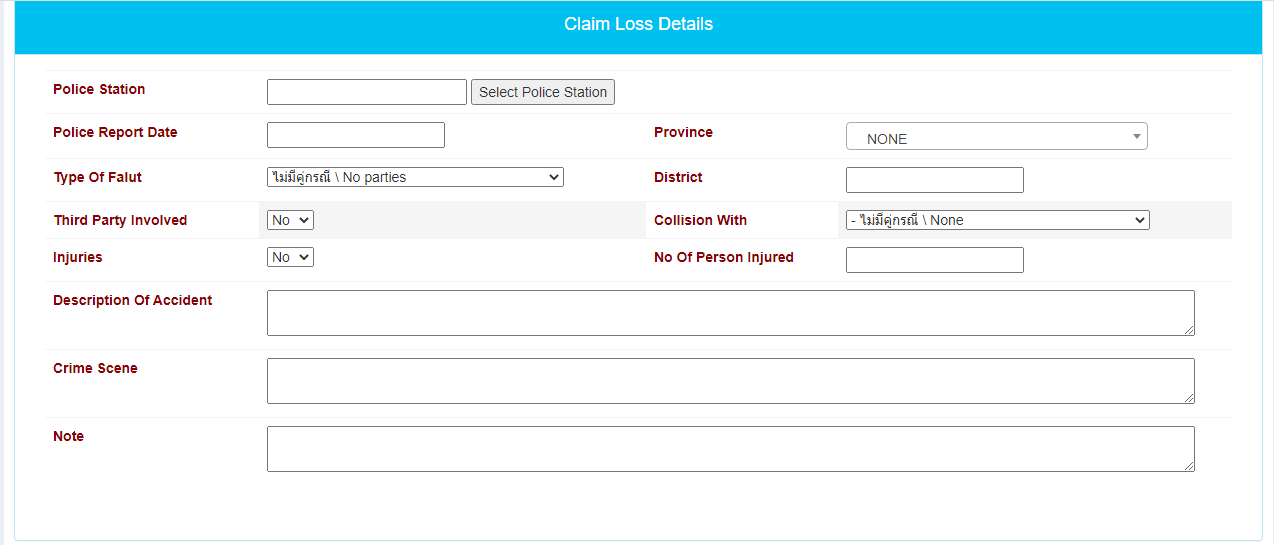
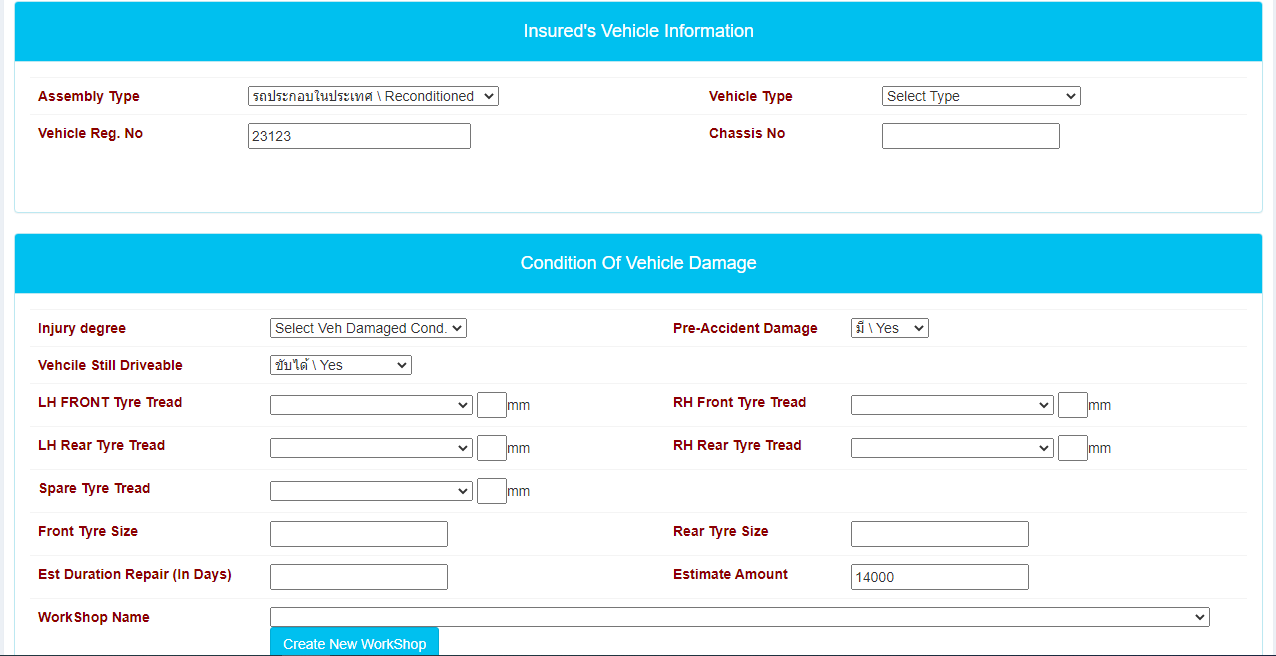
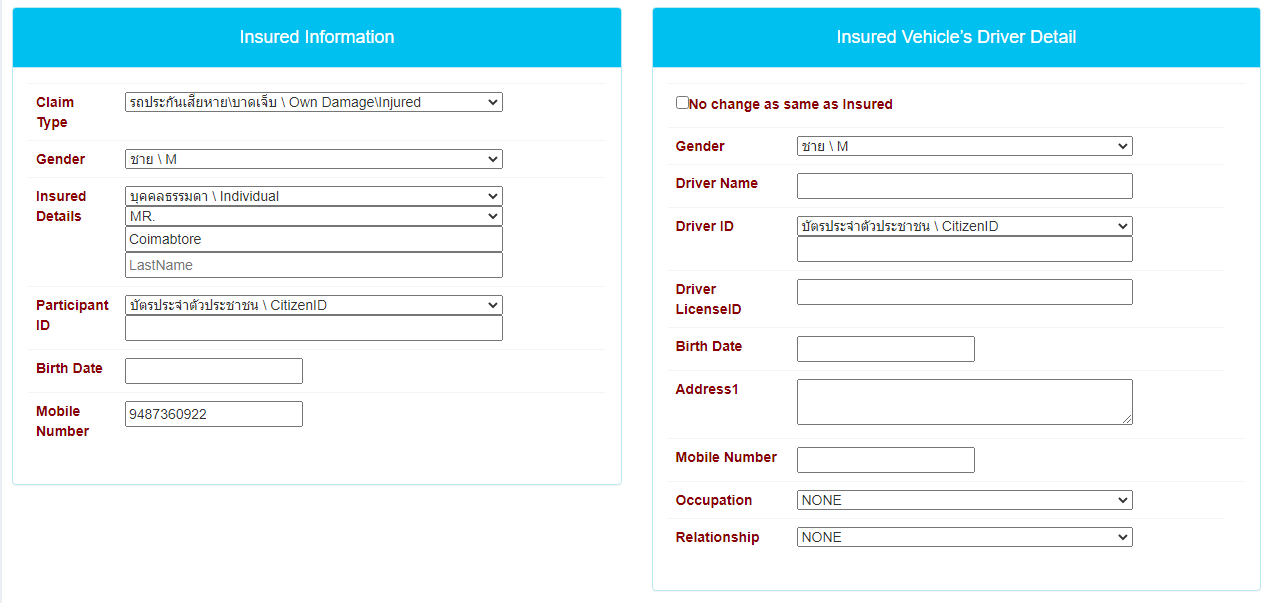
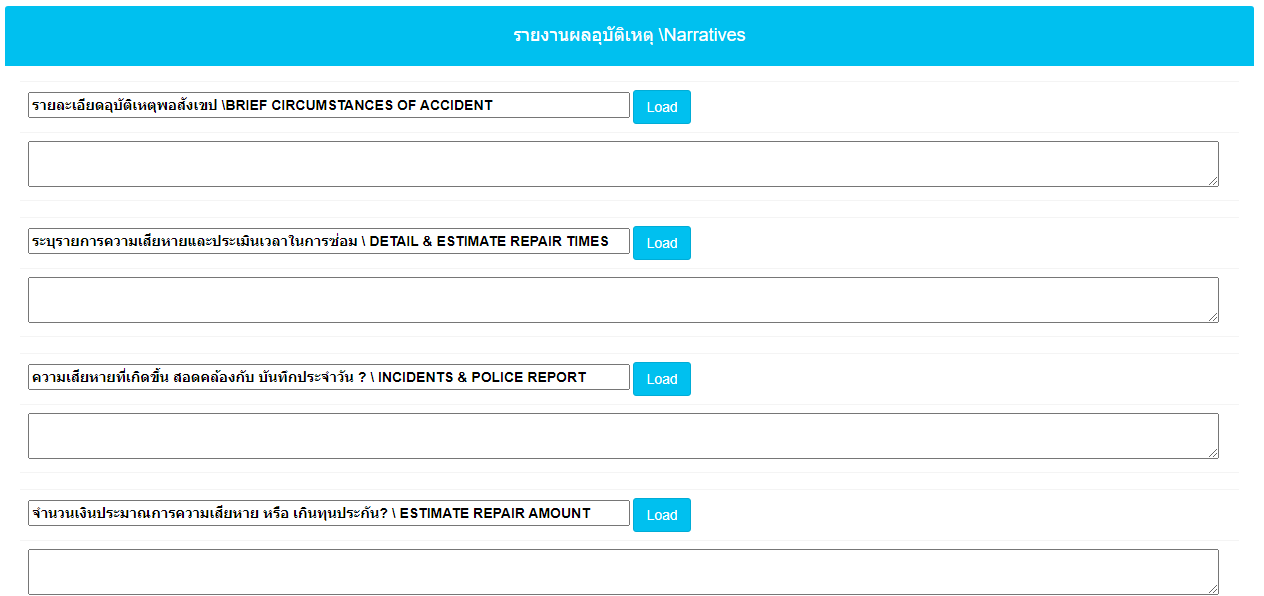
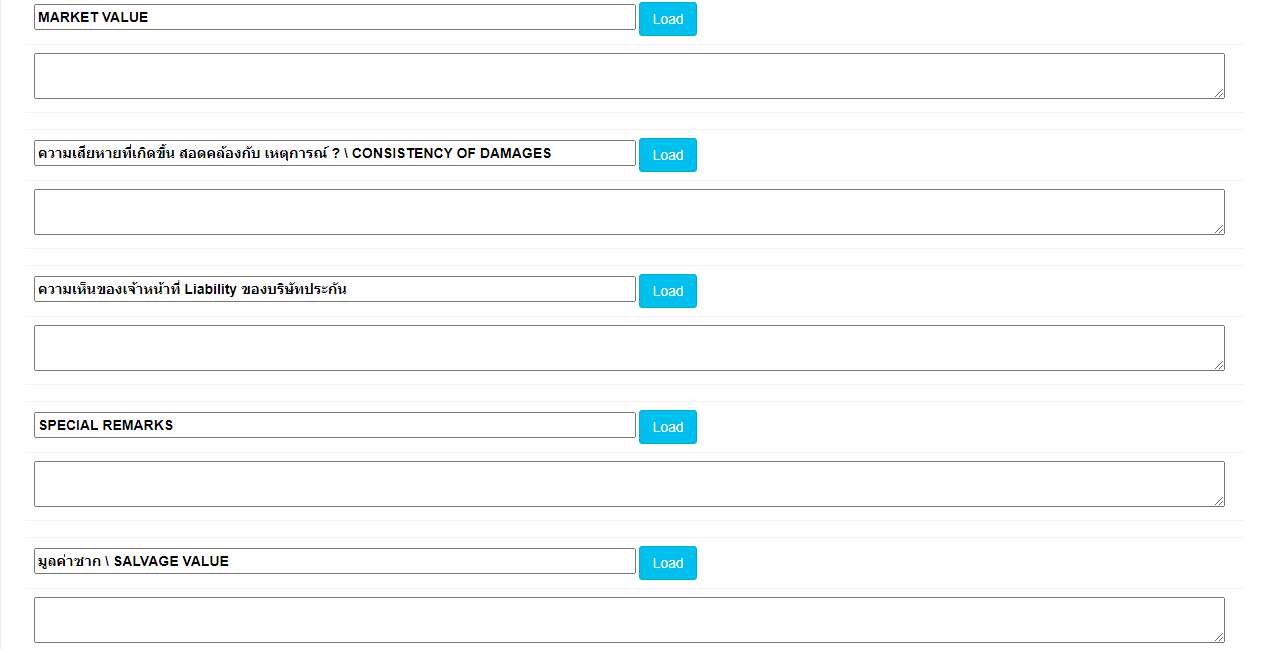

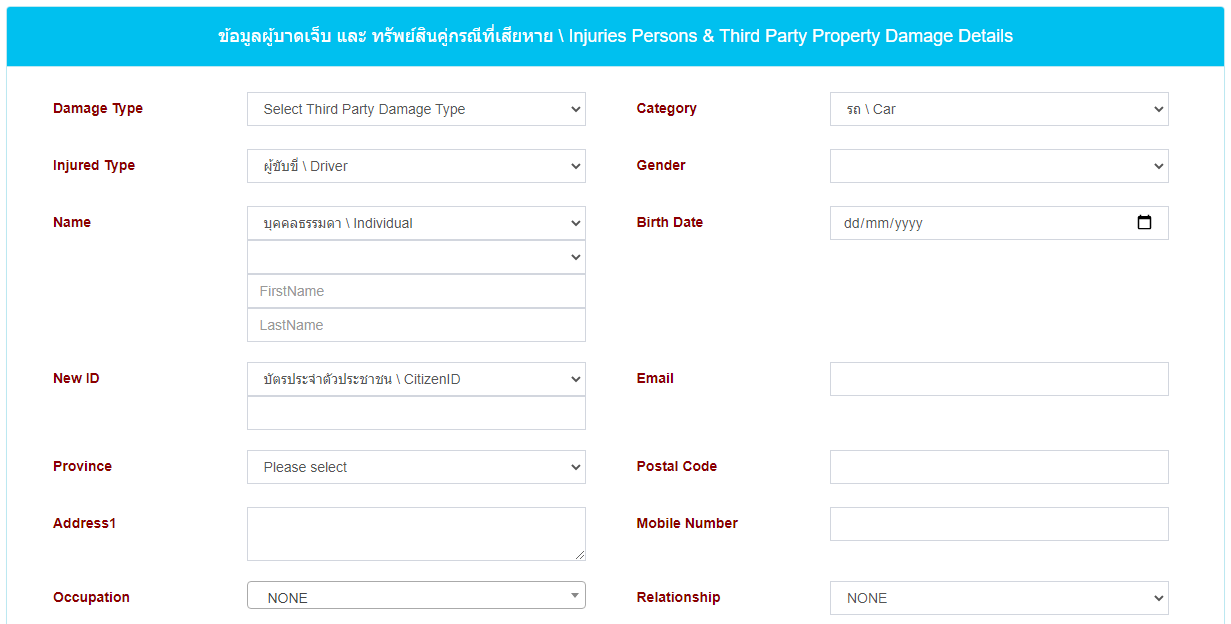
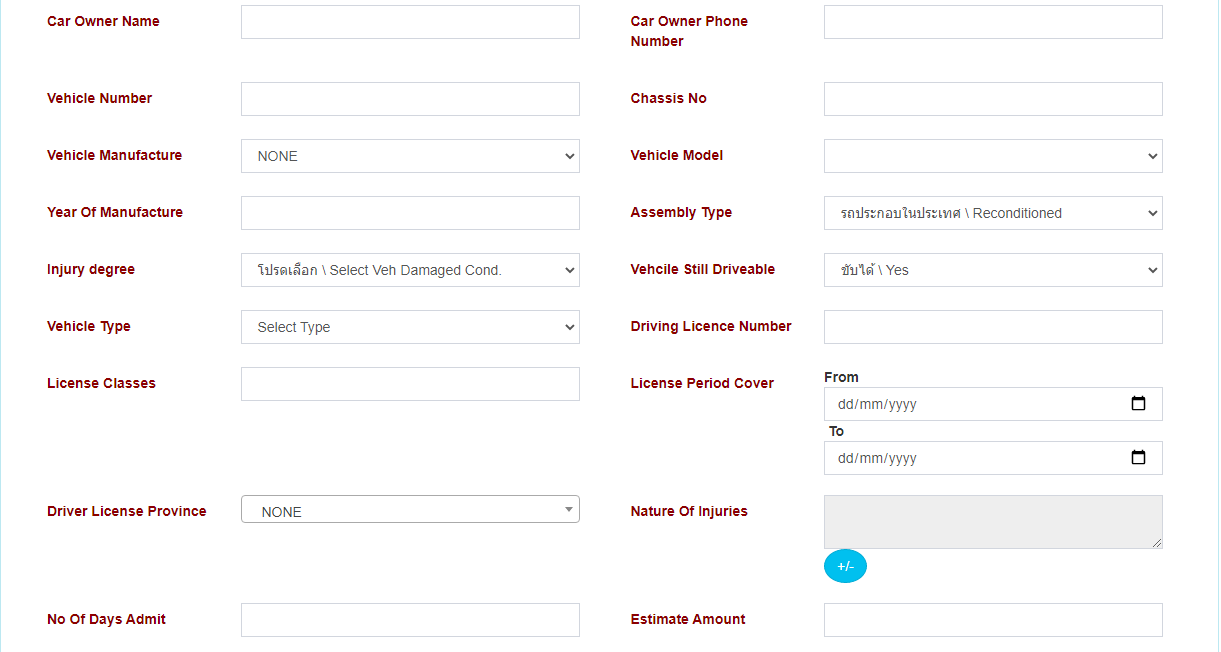


Step 4: Once done, click save button located at the top or bottom of the form.
Step 5: Then a pop-up message will appear.

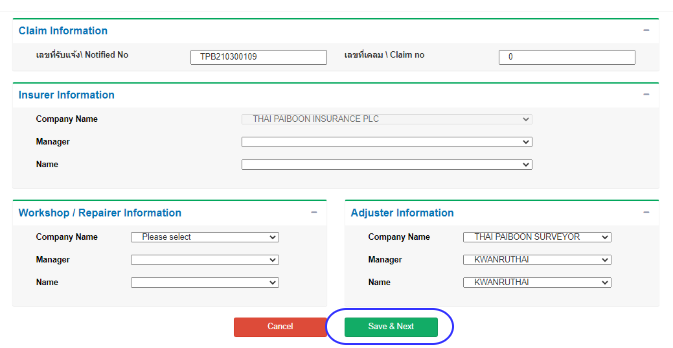
Step 6: Once your done edit the report, here can edit also claim information just click the assign button.

Step 7: Fill up the form and click Save and Next button.
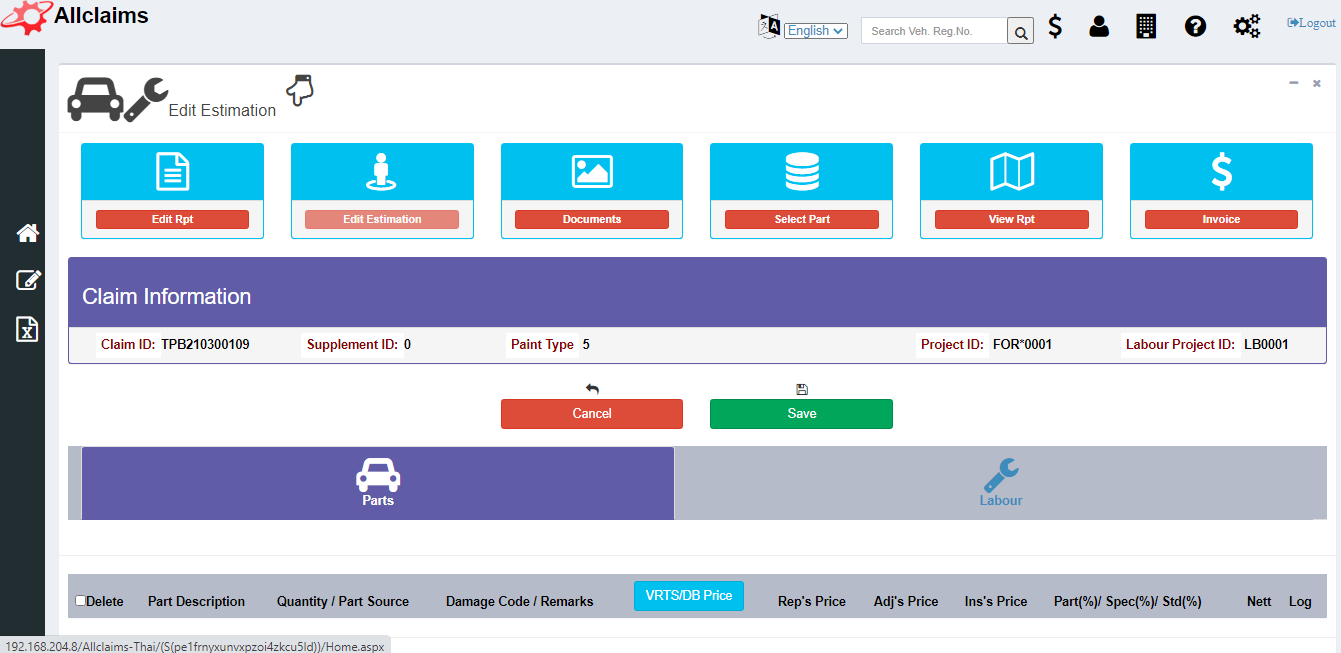
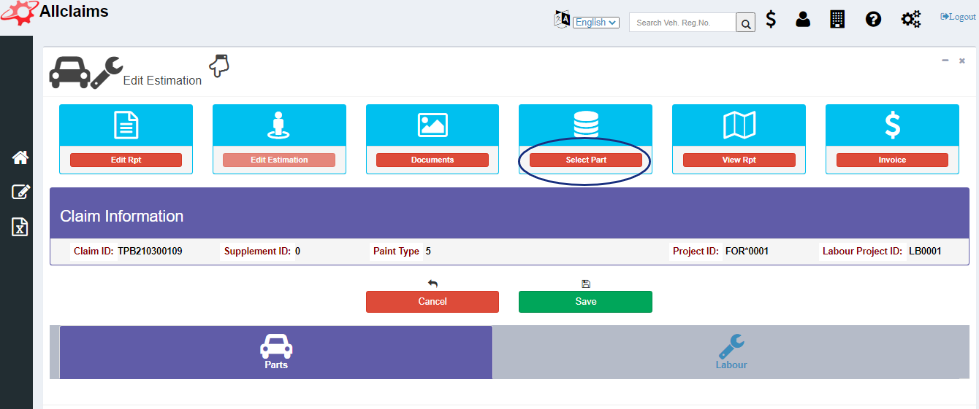
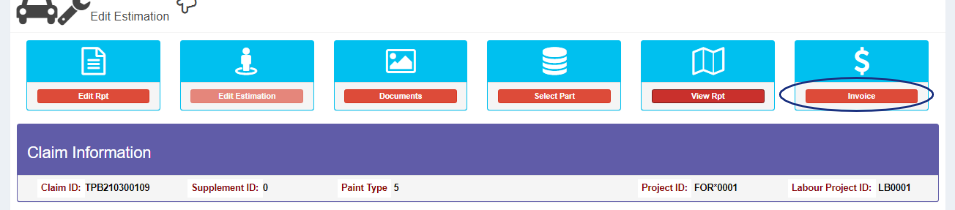
Step 8: To edit estimation just click Edit Estimation button.

Step 9: If need to add/new estimation on parts just click parts. Then click the add/new button.
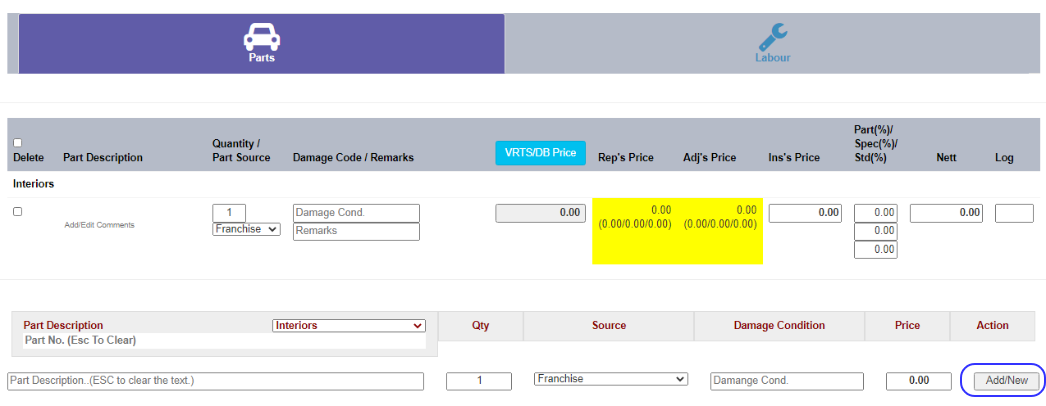
Step 10: If need to add/new estimation for labour cost click labour. Then click add/new button.
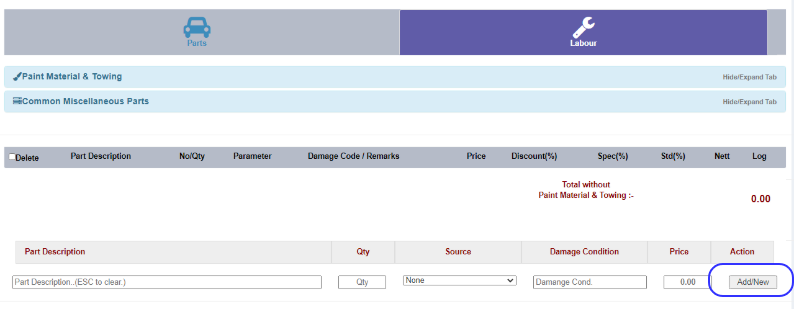
Step 11: Click Save button once done edit estimation.

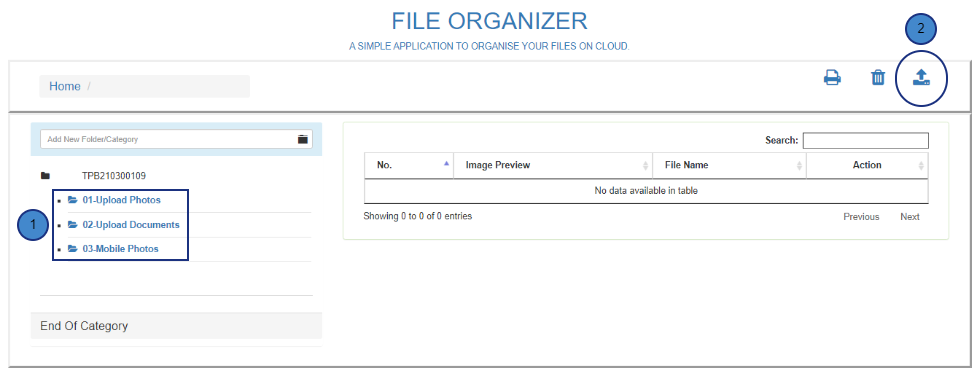
Step 12: In case you need to attached documents or upload photos click document button.

Step 13: Click the upload photos or upload document or mobile photos folder then click upload button.
Step 14: Click choose file button.
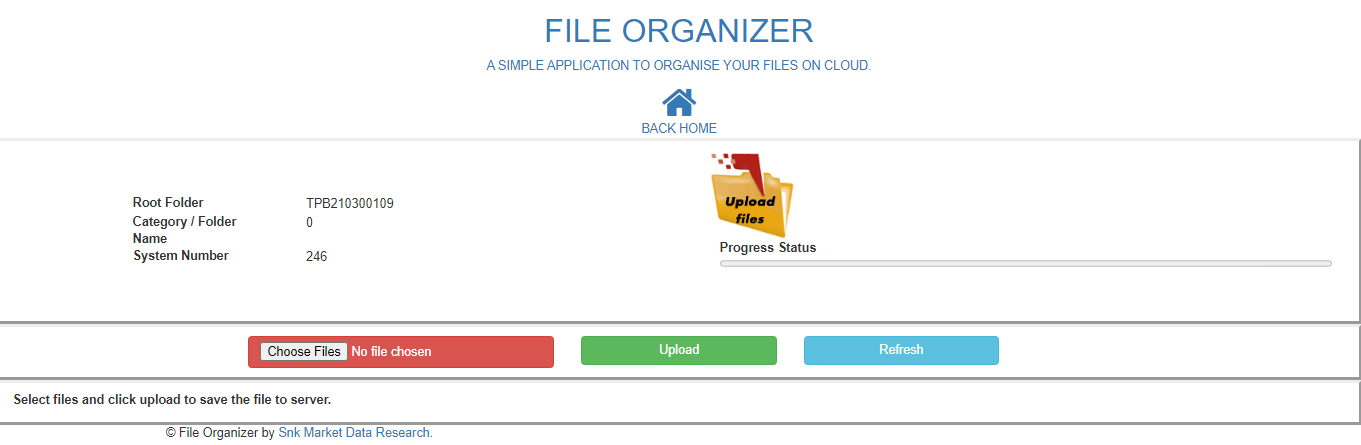
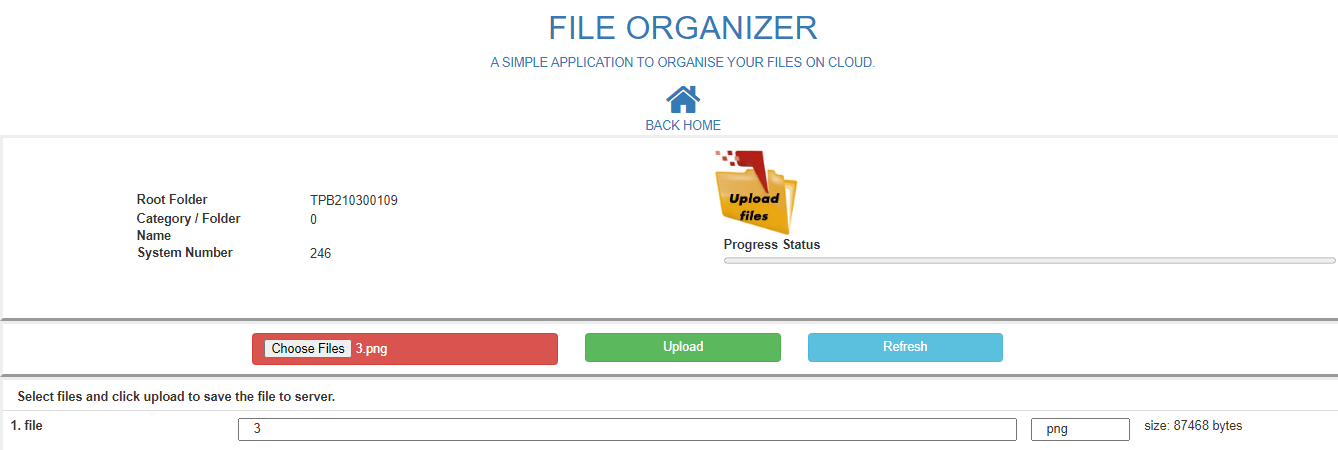
Step 15: Choose file need to upload then click open button.

Step 16: Click upload button.
Step 17: On edit estimation you can select parts just click the select parts button.
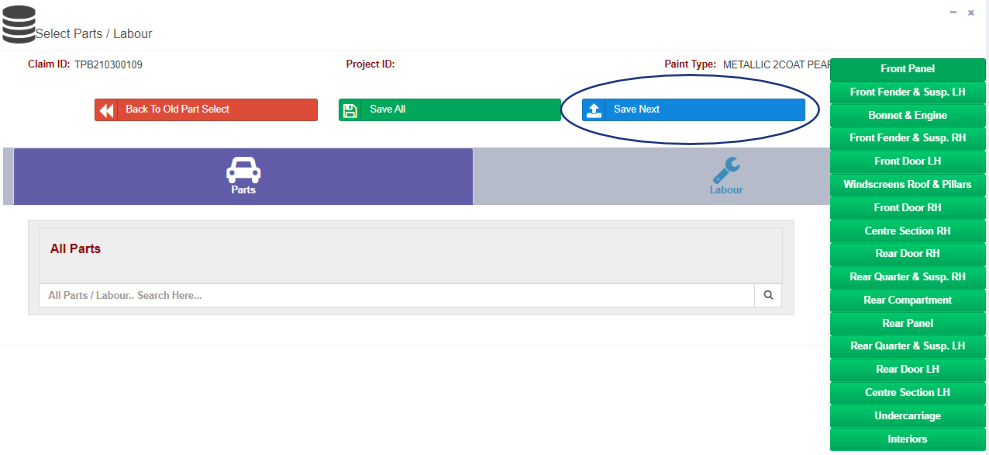
Step 18: On the right side, you can select what parts damage that need to change/repair.

Step 19: Click Labour then you can select which part of the car is for repair.

Step 20: Click Save Next button if done already on selecting parts.
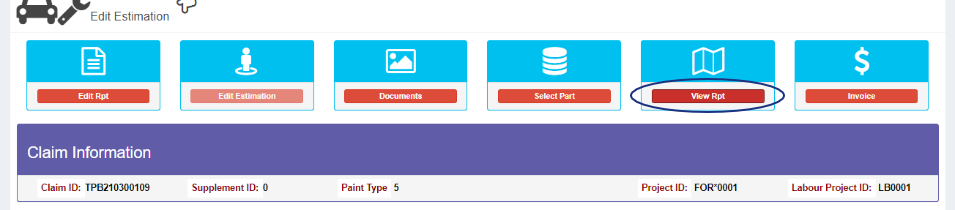
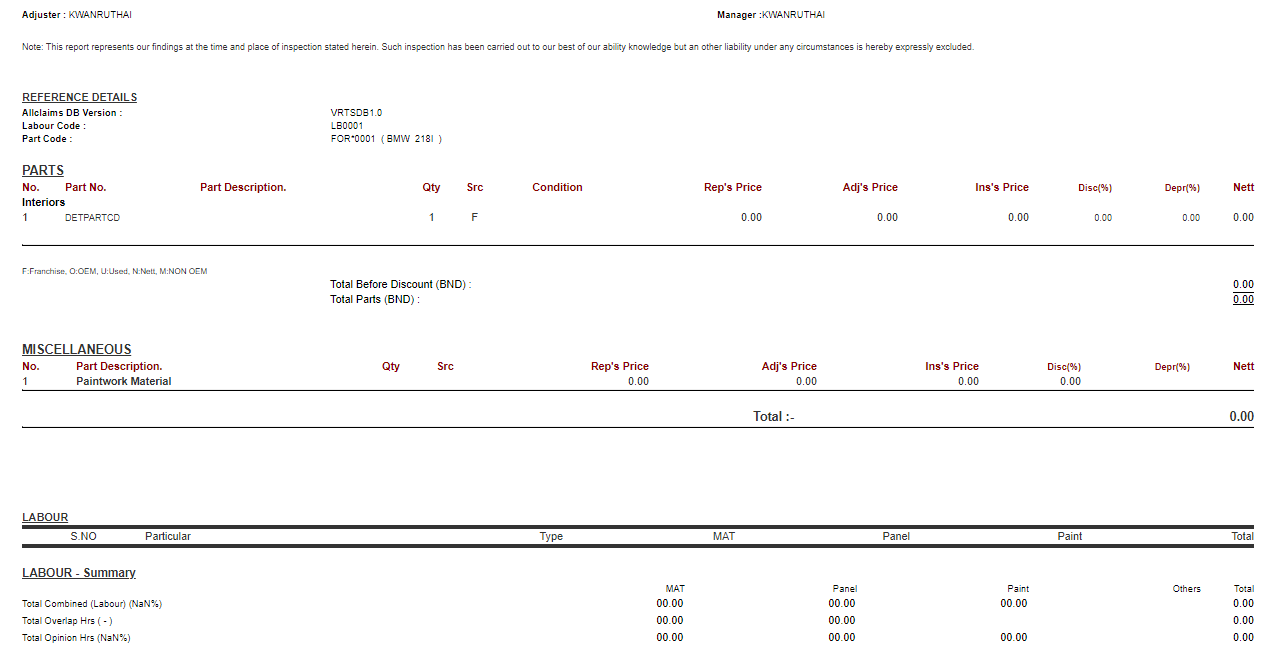
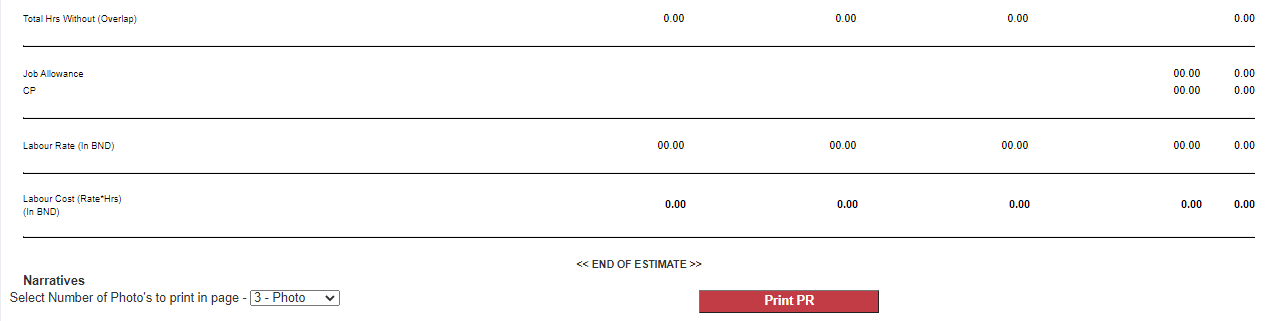
Step 21: Click view report if you want see the whole report.
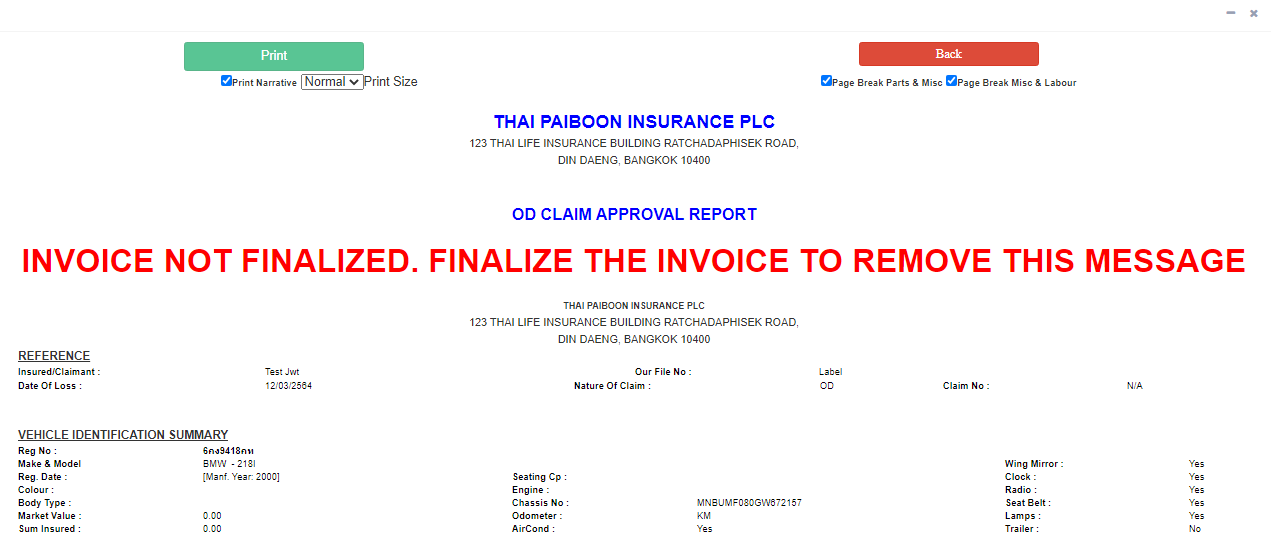
Step 22: Report will show. Note: You can print this report just click print button at the top left.

Step 23: If you want to see the invoice just click invoice button.
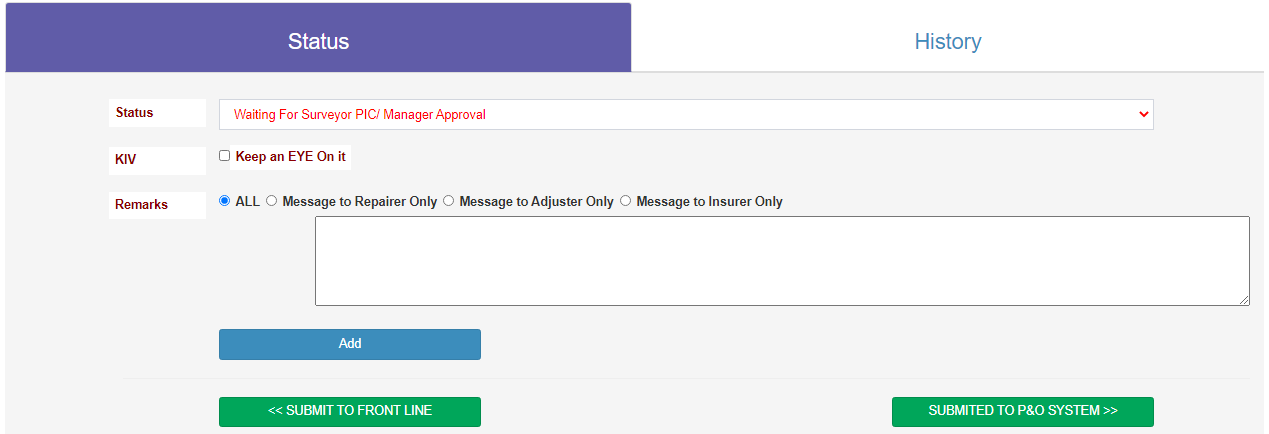
Step 24: If Claim report is done just click finalize/submit button.

Step 25: Click Submitted to P&O System.
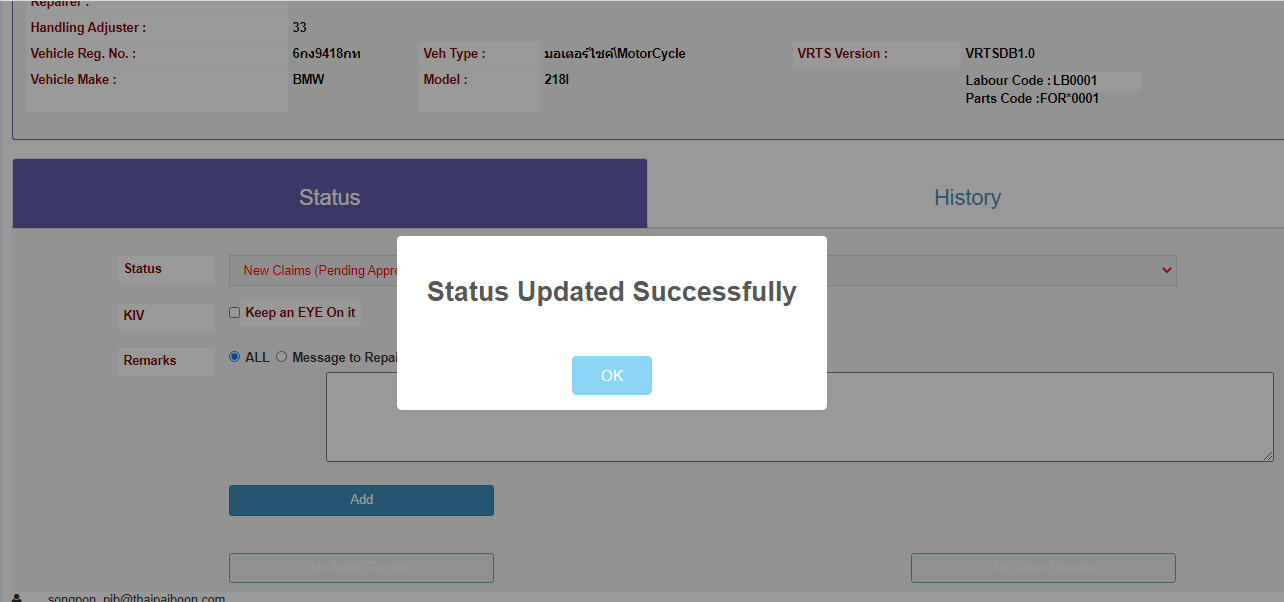
Step 26: Pop up message will appear.
No Comments